Monday, January 21, 2013

Crazy Monday and Kitchen Chaos!

I know I have missed a few days but life has been hectic! We are in the middle of a kitchen island makeover and I have been without a sink or counter top for almost a week now. Today we washed dishes in the tub and sink upstairs...not really a fun thing. I keep telling myself its all for the greater good but I am not a person that can handle a disorganized house for too long without going crazy! I promise to get back on track this week...unless the counter top does not get installed soon!


That's so me!


Also, check out our new class schedule and the addition of Yoga starting next week! We have some great new classes and offer something for everyone, classes start at $10.00 a session for Mat, Yoga and Piloxing and go up to $20.00 for all the Equipment classes.


Wednesday, January 16, 2013

DIY Dinning Room Table and Hutch

There are a few rooms left in my house that have not been 'decorated' yet. I just threw them together with the furniture, etc. that I had either inherited or my husband and I had when we combined homes. When I retired from teaching this May I vowed to 'finish' all those rooms and make them my own. The first room I tackled was my dinning room. I did not have a lot of money to spend so it had to be thrifty and I really wanted to use some of the pieces I already had in the house, but I also wanted a dramatic new look.

With a little paint and hard work I re-decorated the whole room for around $200.00. Below I will share some the things that went into the new decor and will reveal the new room next week!


The room before with a hodge podge of stuff. The green walls were there when we moved in, the table and chairs were inherited from my aunt, and the curtains were re-purposed from my old house.


I knew I wanted a hutch and buffet to hold all my grandmothers china and milk glass pieces but I did not want to spend a fortune. My greatest thrift store find was the hutch top at Habitat for $25.00. It was in excellent shape but missing a glass shelve. The inside light still worked and I loved the detail inside. I already had the buffet base, the piece had been sitting in my entry way. The hutch top fit perfect on top of the base so I painted it a gloss black on the outside and painted the interior a taupe color to match the fabric I was using. I took off the hardware that was a brass finish and spray painted it silver to match the hardware that was on the buffet base. Once the hutch was finished no one could tell the pieces did not come together.


Next I had to decide what to do about the table. In our basement we had two old sewing bases that had belonged to my husband's grandmother. They were a little rusty but in good shape. I found a hammered metal spray paint and painted the bases and added an old glass table top I had bought over 15 years ago at an after market sale. For the cost of 4 bottles of spray paint we had a new dinning room table and I re-purposed 3 items in our house. The chairs had been part of the dinning set my aunt had left me and I painted them black and recovered them with the fabric I had picked out.


Chair before, not really my taste but my aunt did love animal prints!

Next week I will show you my new chandelier that cost under $40.00, my original wall art, and the finished product!

Take a look at what you have, always be on the look out for good finds, and be creative!

Tuesday, January 15, 2013

Cooking With Salmon

Here is a yummy recipe that my husband loves. I served this the other day with some Roasted Yukon Gold Potatoes and Steamed Green Beans with Pancetta and Mushrooms. Try to make sure the pieces of Salmon are of equal thickness to ensure even cooking. 

Enjoy!

Salmon Bake With Pecan-Crunch Coating

Ingredients


* 4 salmon fillets (about 1½ inches thick)

* ¼ teaspoon salt

* ⅛ teaspoon pepper

* 2 tablespoons Dijon mustard

* 2 tablespoons butter or 2 tablespoons margarine, melted

* 1½ tablespoons honey

* ¼ cup soft breadcrumbs

* ¼ cup finely chopped pecans

* 1 tablespoon chopped fresh parsley

Directions

Sprinkle salmon with salt and pepper; place, skin down, in a lightly greased 11-x7-x1 1/2-inch or 9-inch square baking dish.

Combine mustard, butter, and honey; brush over salmon. Combine breadcrumbs, pecans, and parsley; spoon evenly across top of salmon. Bake, uncovered, at 450 for 12-15 minutes or until fish flakes easily when tested with a fork. Garnish, if desired.

Monday, January 14, 2013

Friday, January 11, 2013

Yoga Is Coming To Dancing Moon

Yoga is coming! We are pleased to announce the addition of Cait Klein to our staff. Cait currently teaches at Davidson College and Gotta Yoga, so you may have seen her around town. Classes will start January 28th and will be offered Monday nights at 7:15 pm and Sunday afternoons at 2:30 pm. 

Our new class schedules are coming soon so stay tuned for some other additions as well as class changes. Our goal is to offer a variety of class types to fit everyone's needs and schedules.

Have a great weekend and we hope to see you at the studio soon!

Thursday, January 10, 2013

FItness Thursday, Weight Training Injuries in Women

I read a recent article from Women's Health about how weight-training injuries have increased 63 percent for women in recent years.

There are many reasons why, such as improper form, not warming up, lack of direction and guidance from a qualified professional...the list is long. What the article talked about was how to prevent injuries from happening. Here are a few:

1. Make sure you warm up the muscles before starting to go too deep into the workout. "Working cold, stiff muscles can lead to sprains and tears," says Morey Kolber, Ph.D., a professor of physical therapy at Nova Southeastern University in Florida. "Warming up increases circulation and improves range of motion, which preps your muscles and joints for action."

2. Experts agree that proper form is the single most important factor in injury prevention. Standing straight, core muscles tight, and knees in line with your second toe, will all help to keep you in the proper form. Work with someone that has been trained professionally to help you understand how to create that posture and help you "feel" where you truly should be in space.

3. Watch your shoulders,  make sure they are not taking the brunt of the weight. Keeping the shoulders loose and letting other muscle groups take over is key to a healthy shoulder.

4. Do not neglect opposing muscle groups. Many women have imbalances from day to day living
which can make them more prone to injury, So if you work the chest or front of the body be sure to work the back as well, if you work the bicep make sure you also work the tricep, etc.

5. Above all slow down, take time to set up the proper form and really feel the internal muscle groups working hard. Don't do too much too soon, which can stress out the joint, ligaments, muscles, etc. Also remember if it does not 'feel right' for your body do not do it, even if you are being told to do it. Talk with your teacher, trainer, etc and let them know what's going on in your body.


Wednesday, January 9, 2013

Wednesday DIY from the House of 34 blog


I found this Pottery Barn knock off DIY on my friend Laurie's blog. It just shows you can have some fun with the left over wood you may accumulate from other projects!

Pottery Barn Knock-Off Wall Art

Posted on
I love Pottery Barn.  I don’t always love the prices.  While flipping through the recent catalog I saw this rustic wood wall art.  A whooping $399.00!  Knowing I have a pile of scrap wood in the garage, I just about did the happy dance at the project I knew I was going to tackle.  I love power tools.  I love wood!
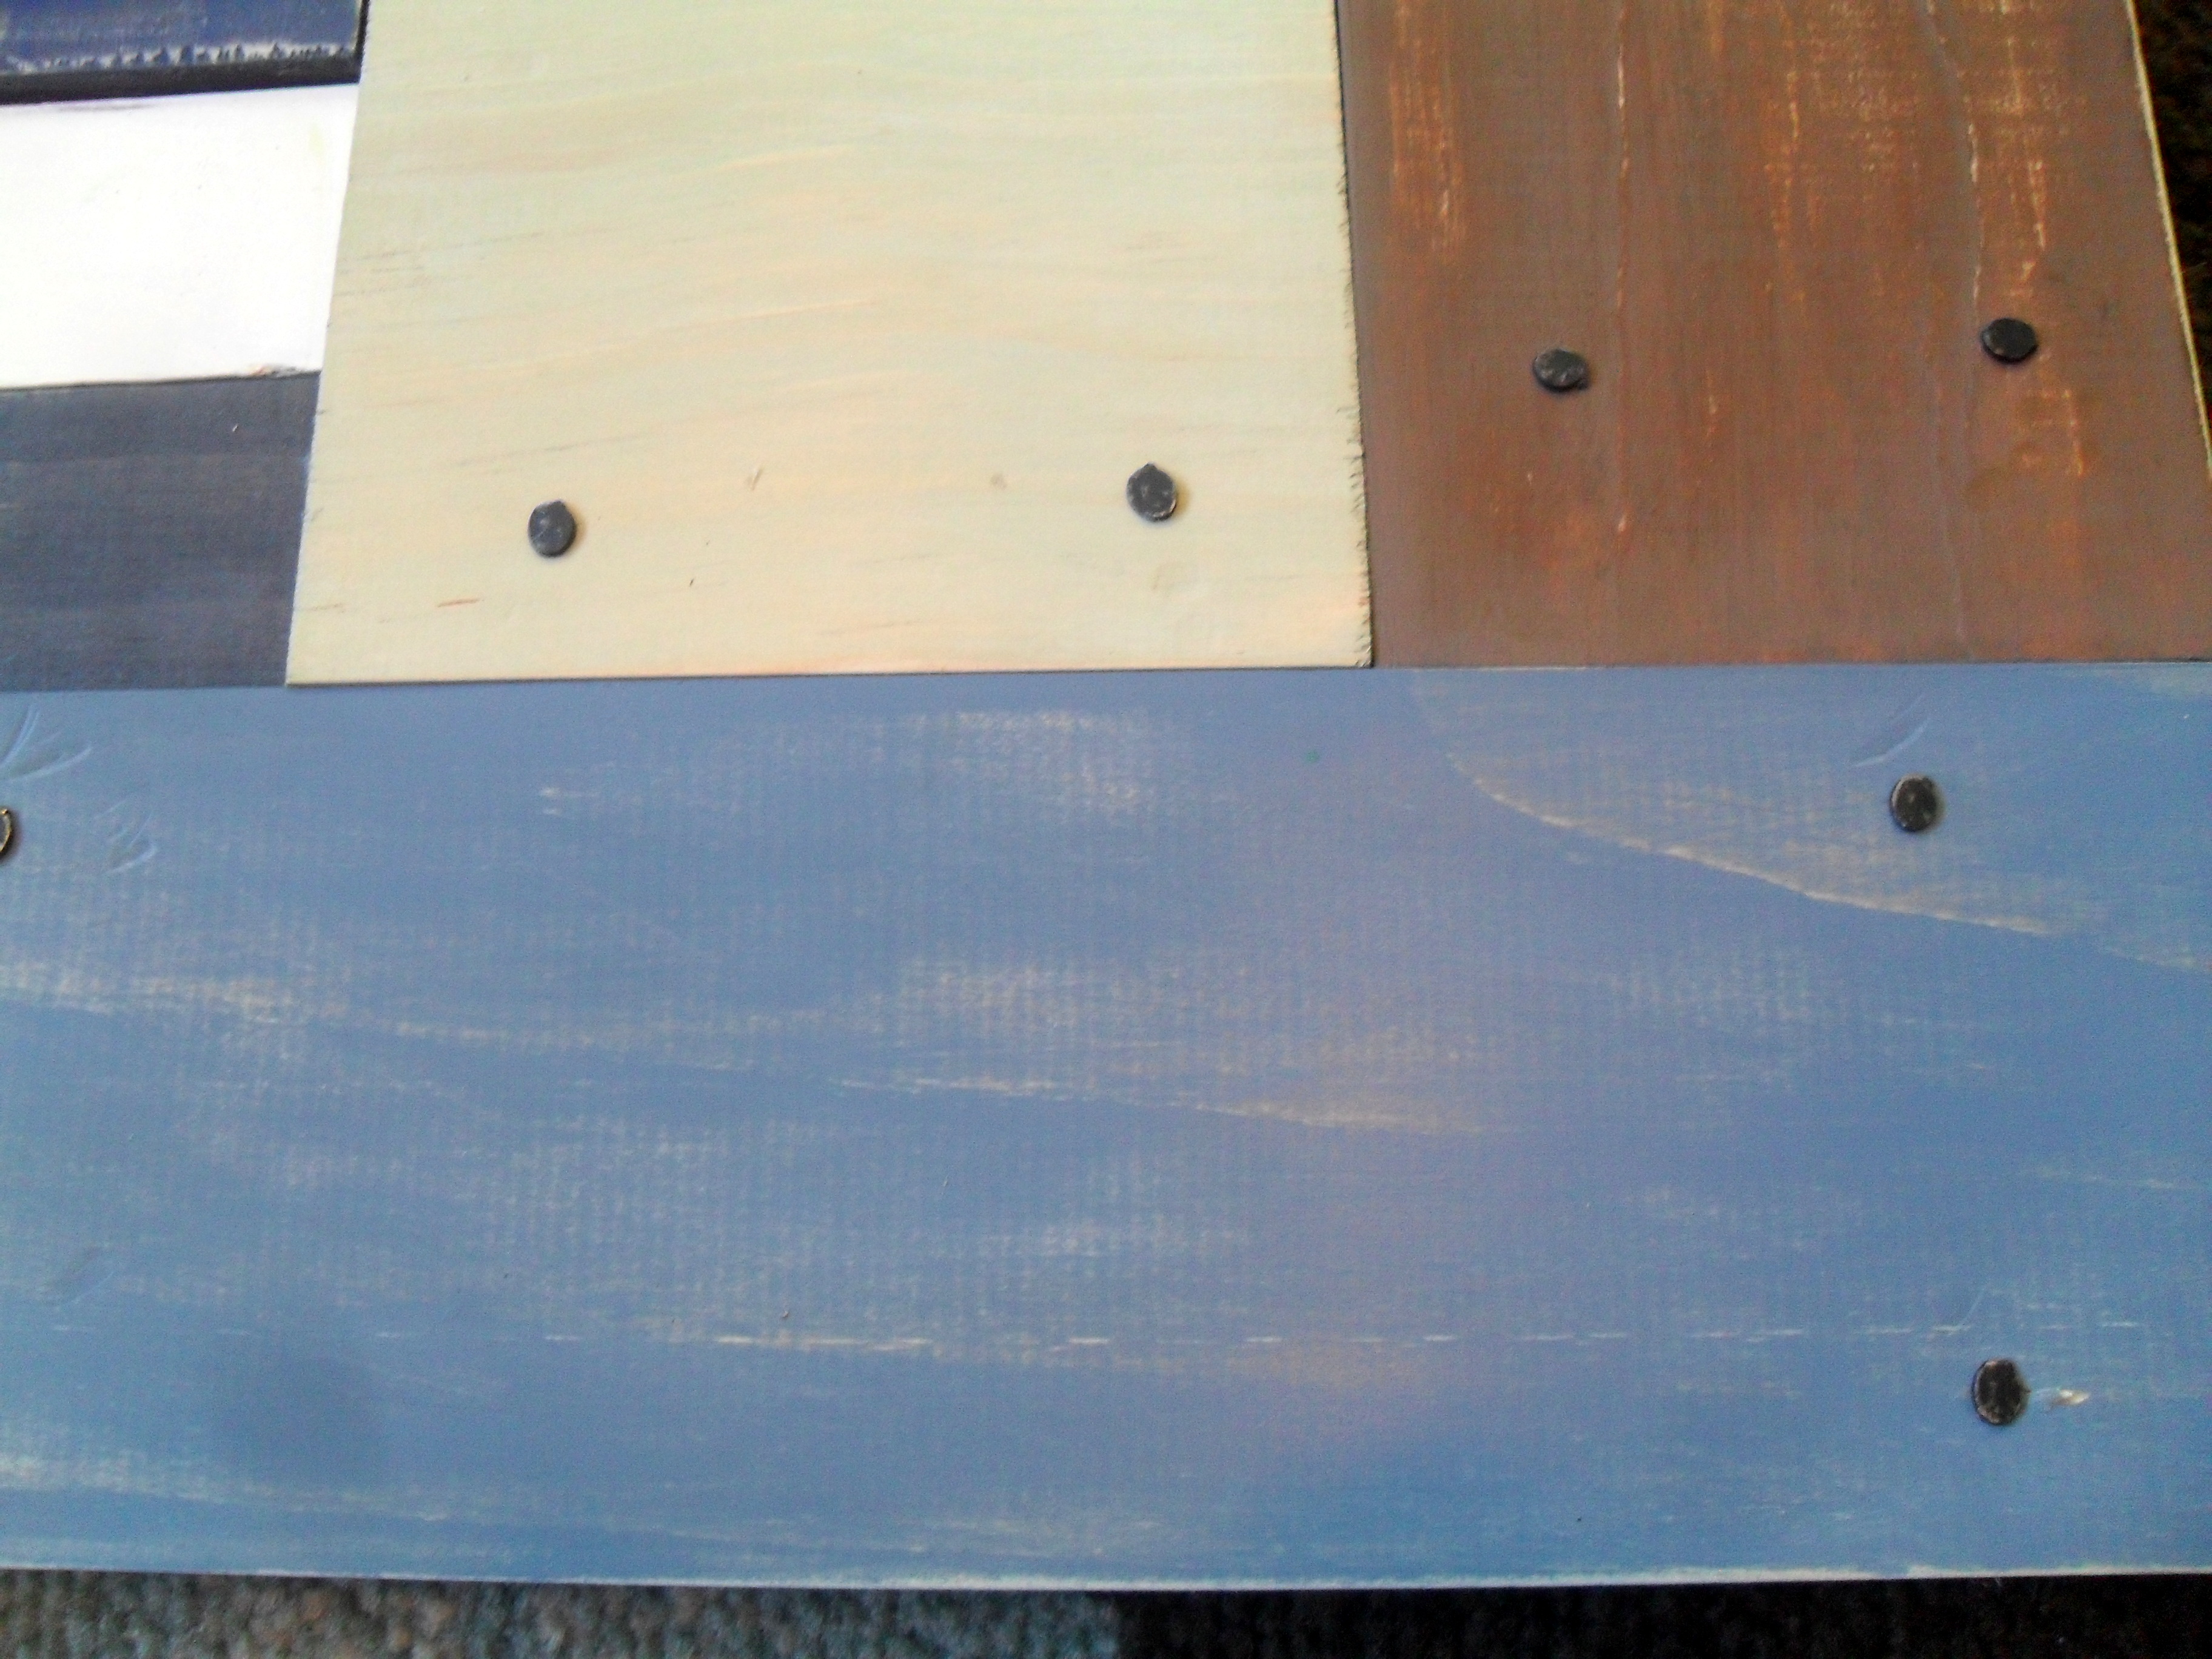
I bought a 2x 4 foot piece of plywood, a few extra pieces of wood, a couple of sample size paint jars, and some tacks.  It only cost around $40.00!  Everything else I had… a lot of wood pieces, glue and leftover paint.  Most of the wood I used is considered “craft” wood.  It comes in short lengths and is thinner than regular wood.  I did combine it with “regular” wood though.  It gives the piece some dimension.
Pottery Barn $399.00.   Laurie $40.00!
Pottery Barn Knock-Off Wall Art


The design was not planned.  I cut each piece as I went along.  HINT:  When you have the layout you want, take a picture of it.  Just in case you mess up the design later on while you are painting the wood pieces.  You don’t want to spend HOURS and HOURS trying to put the thing back together, only to remember you DO have a picture you could have looked at.  By that point, bad words may have been said, drinks may have been drunk, and your family may be afraid to be in the same room as you.  Just saying it could happen. ;) 


Pottery Barn Knock-Off Wall Art

The next step was paint.


Pottery Barn Knock-Off Wall Art


I applied the paint with a cut up old t-shirt.  That way I could rub the paint on like a stain allowing the wood grain to show through.


Pottery Barn Knock-Off Wall Art

Each piece was glued down to a 2 x 4 sheet of plywood board with Tite Bond Wood Glue.  Blue tape is always handy for extra support.


Pottery Barn Knock-Off Wall Art


The Vodka is for weight, not for drinking. At least not in that moment anyway. After all the pieces were glued down, I distressed each piece with sand paper to lighten the paint colors and to give it a worn out look.

Pottery Barn Knock-Off Wall Art


I found these tacks at Lowes.


I lightly sanded the tack heads so they looked distress as well.
I’m not sure where I’m going to hang it yet.  I may add some trim around the edges.  This was a FUN project.  Although I used a power saw to cut the pieces, it can be done with a simple miter box.
This Pottery Barn knock-off project was a great way to use up most of the scrap pieces of wood I had accumulated.  And my garage is a little bit cleaner now! :)

Pottery Barn Knock-Off Wall Art


Pottery Barn Knock-Off Wall Art